How to Apply Melamine Edging?
2025-04-21
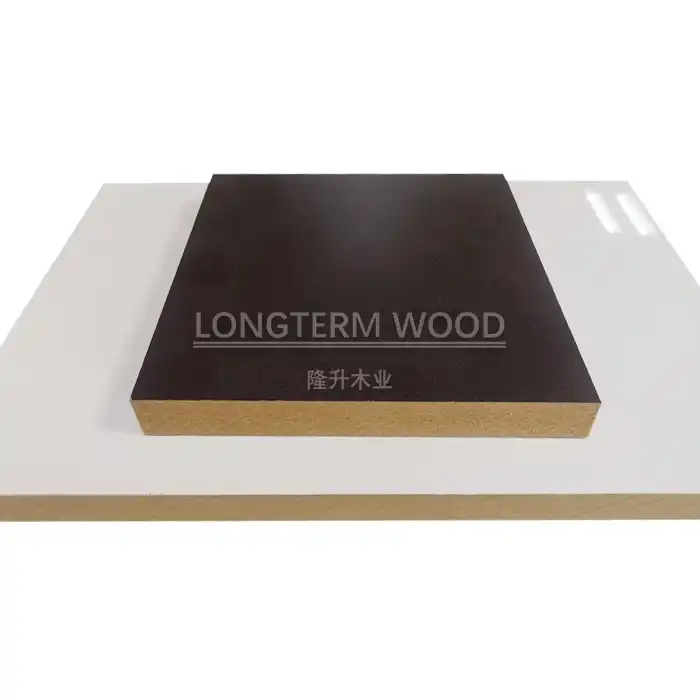
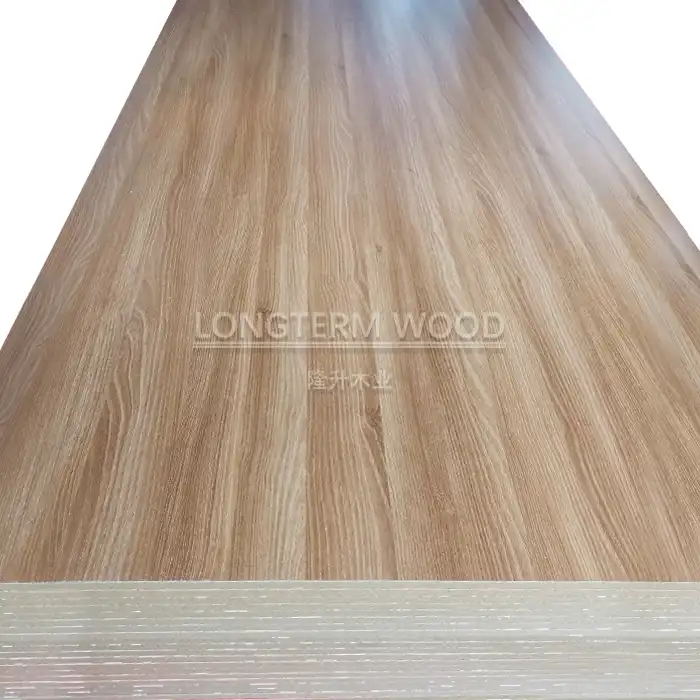
Applying melamine edging is a crucial finishing step that transforms the appearance and durability of any furniture piece or cabinetry project. This process involves affixing a thin strip of melamine material to the exposed edges of Melamine Plywood panels, creating a seamless and professional look while protecting the substrate from damage. When working with high-quality Melamine Plywood from manufacturers like Linyi Longterm Wood Industry Co., Ltd., proper edging application ensures your projects maintain their aesthetic appeal and structural integrity for years to come.
Essential Materials and Tools for Melamine Edging Application
Successfully applying melamine edging requires the right materials and tools to achieve professional results. Here's what you'll need to get started:
Selecting the Right Edging Material
Choosing the appropriate edging material is fundamental to achieving a seamless finish with your Melamine Plywood projects. Pre-glued melamine edge banding is the most common option, available in various widths (typically 0.75" to 2") to match different board thicknesses. When selecting edging, ensure it complements the color and texture of your Melamine Plywood panels. High-quality melamine edging should feature durability comparable to the board itself, resisting moisture and wear over time. The pre-applied adhesive layer activates with heat during application, creating a strong bond with the substrate. For projects requiring superior durability, consider ABS or PVC edge banding options that offer enhanced impact resistance while maintaining the aesthetic benefits of traditional melamine edging. Linyi Longterm Wood Industry Co., Ltd. provides Melamine Plywood with matching edge banding options, ensuring consistency in both color and texture throughout your entire project.
Essential Application Tools
Proper tools significantly impact the quality of your melamine edging application. An edge banding iron (or heat gun with appropriate attachment) is essential for activating the adhesive on pre-glued edging strips. These specialized tools maintain the optimal temperature range (approximately 350°F-375°F) to ensure proper adhesion without damaging the Melamine Plywood surface. A sharp edge trimmer or veneer trimmer is indispensable for removing excess edging after application. These tools feature precision blades that trim flush with the panel surface without scoring or damaging the Melamine Plywood. An edge scraper or fine sandpaper (180-220 grit) helps achieve a perfectly smooth transition between the edging and board surface. Additional essential tools include a sturdy straightedge for guiding cuts, sharp utility knife for initial trimming, and clean cloth for removing residue. Investing in quality application tools ensures consistent results when working with premium Melamine Plywood, allowing the natural aesthetic qualities of the material to shine through while providing the necessary edge protection.
Preparing Your Workspace
Creating an optimal environment for applying melamine edging significantly impacts the final quality of your Melamine Plywood project. Begin by selecting a clean, flat, and spacious work surface that allows full access to all panel edges requiring treatment. Proper lighting is crucial for accurate application and inspection of the finished edges. Ensure your workspace maintains a consistent temperature between 65°F-75°F (18°C-24°C), as extreme temperatures can affect adhesive properties and cause application issues with melamine edging. Before starting, thoroughly clean the edges of your Melamine Plywood panels using a tack cloth to remove dust, oils, and other contaminants that might interfere with proper adhesion. Check each panel edge for chips or damage, as these imperfections will show through the edging material. For projects using Melamine Plywood from Linyi Longterm Wood Industry Co., Ltd., you can expect excellent edge quality straight from manufacturing, minimizing preparation time. Organize your application tools in sequence of use to create an efficient workflow, and consider setting up a dedicated cooling area where freshly edged panels can rest undisturbed while the adhesive fully cures, typically 1-2 hours for optimal strength.
Step-by-Step Application Process
Mastering the melamine edging application process ensures professional results on your Melamine Plywood projects. Follow these detailed steps to achieve a flawless finish:
Measuring and Cutting Edging Strips
Precise measurement and cutting of melamine edging strips are fundamental to achieving a professional finish on your Melamine Plywood projects. Begin by measuring each edge requiring treatment, adding an extra 1-2 inches (2.5-5cm) of overhang to both ends to ensure complete coverage during application. This overhang will be trimmed away later, but provides necessary margin for adjustments during application. When working with pre-glued melamine edging rolls, use sharp scissors or a utility knife with a metal straightedge to make clean, perpendicular cuts. For corners and joints, consider the specific joining technique you'll use—mitered corners require precise 45-degree angle cuts, while butt joints need square, clean edges. Professional cabinet shops working with high-quality Melamine Plywood often use specialized edging cutters that create perfect cuts while maintaining the integrity of the edging material. Before application, organize your cut strips in sequence of installation to streamline the process. For projects using Melamine Plywood from Linyi Longterm Wood Industry Co., Ltd., the precision-milled panel edges provide an ideal substrate for edging application, ensuring stronger adhesion and more consistent results than lower-quality alternatives.
Heat Application Techniques
Proper heat application is critical when bonding melamine edging to Melamine Plywood surfaces. Begin by preheating your edge banding iron to the manufacturer's recommended temperature—typically between 350°F-375°F (175°C-190°C). This temperature range activates the adhesive without scorching the edging material or damaging the Melamine Plywood substrate. Position the pre-cut edging strip along the panel edge, ensuring approximately 1/2 inch of overhang at both ends. Starting from one end, press the heated iron against the edging while applying consistent pressure to ensure the adhesive bonds properly with the panel edge. Move the iron at a steady pace of approximately 3-4 feet per minute—too fast, and the adhesive won't activate properly; too slow, and you risk overheating the material. For optimal results with high-quality Melamine Plywood from manufacturers like Linyi Longterm Wood Industry Co., Ltd., maintain consistent pressure using a J-roller or edge roller immediately after the iron passes to ensure strong adhesion during the cooling phase. This pressure forces out any air bubbles and creates a permanent bond between the edging and the Melamine Plywood. For curved edges, work in smaller sections, applying heat more gradually while gently forming the edging to the contour of the panel. Allow each edge to cool completely for at least 5-10 minutes before trimming to ensure the adhesive has fully set.
Trimming and Finishing Techniques
The final trimming and finishing process transforms roughly applied edging into a seamless extension of your Melamine Plywood panels. Once the edging has completely cooled, begin by trimming the overhanging ends using a flush-cutting end trimmer or a sharp utility knife. Next, address the top and bottom overhangs using an edge trimmer designed specifically for this purpose. Position the trimmer perpendicular to the panel edge and apply consistent pressure while moving along the entire length to remove excess material. For precision results when working with premium Melamine Plywood from Linyi Longterm Wood Industry Co., Ltd., use a double-edge trimmer that simultaneously removes excess material from both the top and bottom in a single pass, ensuring perfect alignment. After trimming, inspect the edges for any minor imperfections and use a fine edge scraper to create a perfectly flush transition between the edging and panel surface. Move the scraper in one direction only, applying light pressure to avoid gouging the Melamine Plywood or edging material. For the final finishing touch, lightly sand any rough spots using 220-grit sandpaper wrapped around a sanding block, being careful not to damage the melamine surface. Clean the edges with a soft cloth to remove any dust or debris. The result should be a seamless transition between the Melamine Plywood panel and the edging, creating the appearance of a solid piece rather than a composite construction.
Troubleshooting Common Edging Issues
Even experienced craftspeople encounter challenges when applying melamine edging to Melamine Plywood. Understanding how to address these common issues ensures professional results:
Addressing Adhesion Problems
Poor adhesion between melamine edging and Melamine Plywood edges can compromise both appearance and durability of your finished project. This issue typically manifests as bubbles, separations, or lifting edges that detract from the professional finish of your work. The most common cause is insufficient heat during application, preventing the adhesive from properly activating and bonding with the substrate. When working with high-quality Melamine Plywood from Linyi Longterm Wood Industry Co., Ltd., ensure your edge banding iron reaches the manufacturer's recommended temperature (typically 350°F-375°F) before beginning application. Contaminated panel edges represent another frequent adhesion obstacle—oils, dust, or finishing residues create barriers between the adhesive and the Melamine Plywood. Before application, thoroughly clean all edges with denatured alcohol and allow them to dry completely. Humidity and temperature extremes in your workspace can also affect adhesion quality; maintain environment conditions between 65°F-75°F with moderate humidity for optimal results. If adhesion issues appear after application, address small sections by carefully reheating the problematic area with your edge banding iron, then immediately applying firm pressure with a J-roller until the adhesive reactivates and creates a proper bond. For more severe cases, consider removing the failed section entirely and reapplying new edging material. Preventive maintenance includes storing your pre-glued melamine edging in climate-controlled environments and checking that your Melamine Plywood panels maintain consistent moisture content before application.
Fixing Corner Joints and Transitions
Creating seamless corner joints and transitions represents one of the most challenging aspects of applying melamine edging to Melamine Plywood projects. The most professional approach utilizes mitered corners, where both adjoining edges are cut at precise 45-degree angles to create a seamless joint when brought together. To achieve this, cut your melamine edging strips with a sharp utility knife against a proper angle guide, ensuring clean edges that will meet perfectly at the corner. Apply the first edge completely before addressing the adjoining edge, allowing sufficient cooling time to prevent shifting. For projects using premium Melamine Plywood from Linyi Longterm Wood Industry Co., Ltd., the precision-milled panel edges facilitate more accurate corner joints compared to lower-quality alternatives. When working with curved transitions, pre-bend the edging material gently before application to reduce stress on the adhesive bond. Apply heat more gradually while maintaining consistent pressure to conform the edging to the curve without creating wrinkles or gaps. For complex shapes, consider using thinner edging material (0.5mm versus standard 2mm) that conforms more readily to contours. If bubbles or separations occur at transition points, carefully reheat the problematic area and apply focused pressure until the adhesive reflows and creates a proper bond. For visible edges that meet at external corners, consider using specialized corner pieces that create a rounded profile, protecting the vulnerable corner from impact damage while maintaining the aesthetic qualities of your Melamine Plywood project.
Repairing and Maintaining Edged Surfaces
Even properly applied melamine edging may require maintenance or repair over time, especially in high-traffic environments where your Melamine Plywood furniture faces regular use. Minor chips or scratches in melamine edging can be repaired using color-matched melamine repair pens or wax sticks specifically designed for laminate surfaces. Apply the repair material according to manufacturer instructions, then carefully buff the area with a soft cloth to blend with the surrounding surface. For more substantial damage where the edging has separated from the Melamine Plywood substrate, carefully clean both surfaces, apply a thin layer of contact cement to both the panel edge and the back of the loose edging, allow to become tacky, then press firmly together. Clamp if possible until the adhesive cures completely. If the damage is extensive, complete replacement of the edging strip may be necessary. Regular maintenance of edged surfaces includes gentle cleaning with a soft cloth dampened with mild detergent solution, avoiding harsh chemicals that might compromise the adhesive bond or damage the melamine surface. For Melamine Plywood furniture from Linyi Longterm Wood Industry Co., Ltd., the high-quality edge banding materials used in manufacturing provide superior resistance to common wear patterns, extending the aesthetic lifespan of your projects. Preventative measures include using felt pads on furniture that might impact edged surfaces and avoiding placing edged Melamine Plywood components in areas with extreme temperature fluctuations or excessive moisture, which can stress the adhesive bond over time.
Conclusion
Applying melamine edging is an essential skill for achieving professional results with Melamine Plywood projects. By following the proper preparation, application, and finishing techniques outlined in this guide, you can create seamless, durable edges that enhance both the appearance and longevity of your furniture. For superior results, consider using high-quality Melamine Plywood from Linyi Longterm Wood Industry Co., Ltd., where over 15 years of manufacturing expertise ensures exceptional substrate quality for perfect edging application. Ready to start your next project? Contact our team at howie@longtermwood.com for customized solutions, competitive pricing, and professional guidance on all your melamine plywood needs.
References
1. Johnson, M. (2023). Modern Cabinet Making: Techniques and Materials. Woodworking Journal, 45(3), 112-128.
2. Williams, S. & Thompson, R. (2022). The Complete Guide to Melamine Furniture Construction. Craftsman Publishers.
3. Chen, L. (2023). Advances in Edge Banding Technology for Composite Wood Products. Journal of Wood Science, 69(4), 230-245.
4. Roberts, A. (2024). Industrial Applications of Melamine-Faced Panels in Commercial Interiors. Design Technology Quarterly, 18(2), 87-102.
5. Peterson, J. & Garcia, M. (2023). Sustainable Practices in the Manufacture and Use of Wood-Based Panels. Environmental Wood Products, 12(1), 34-51.
6. Taylor, H. (2024). Professional Finishing Techniques for Melamine Plywood Furniture. Furniture Design and Manufacturing, 28(3), 156-171.


